Build and tune
Whether your flute came off a CNC or a workbench, tuning is done by hand, one hole at a time.
The printed hole template
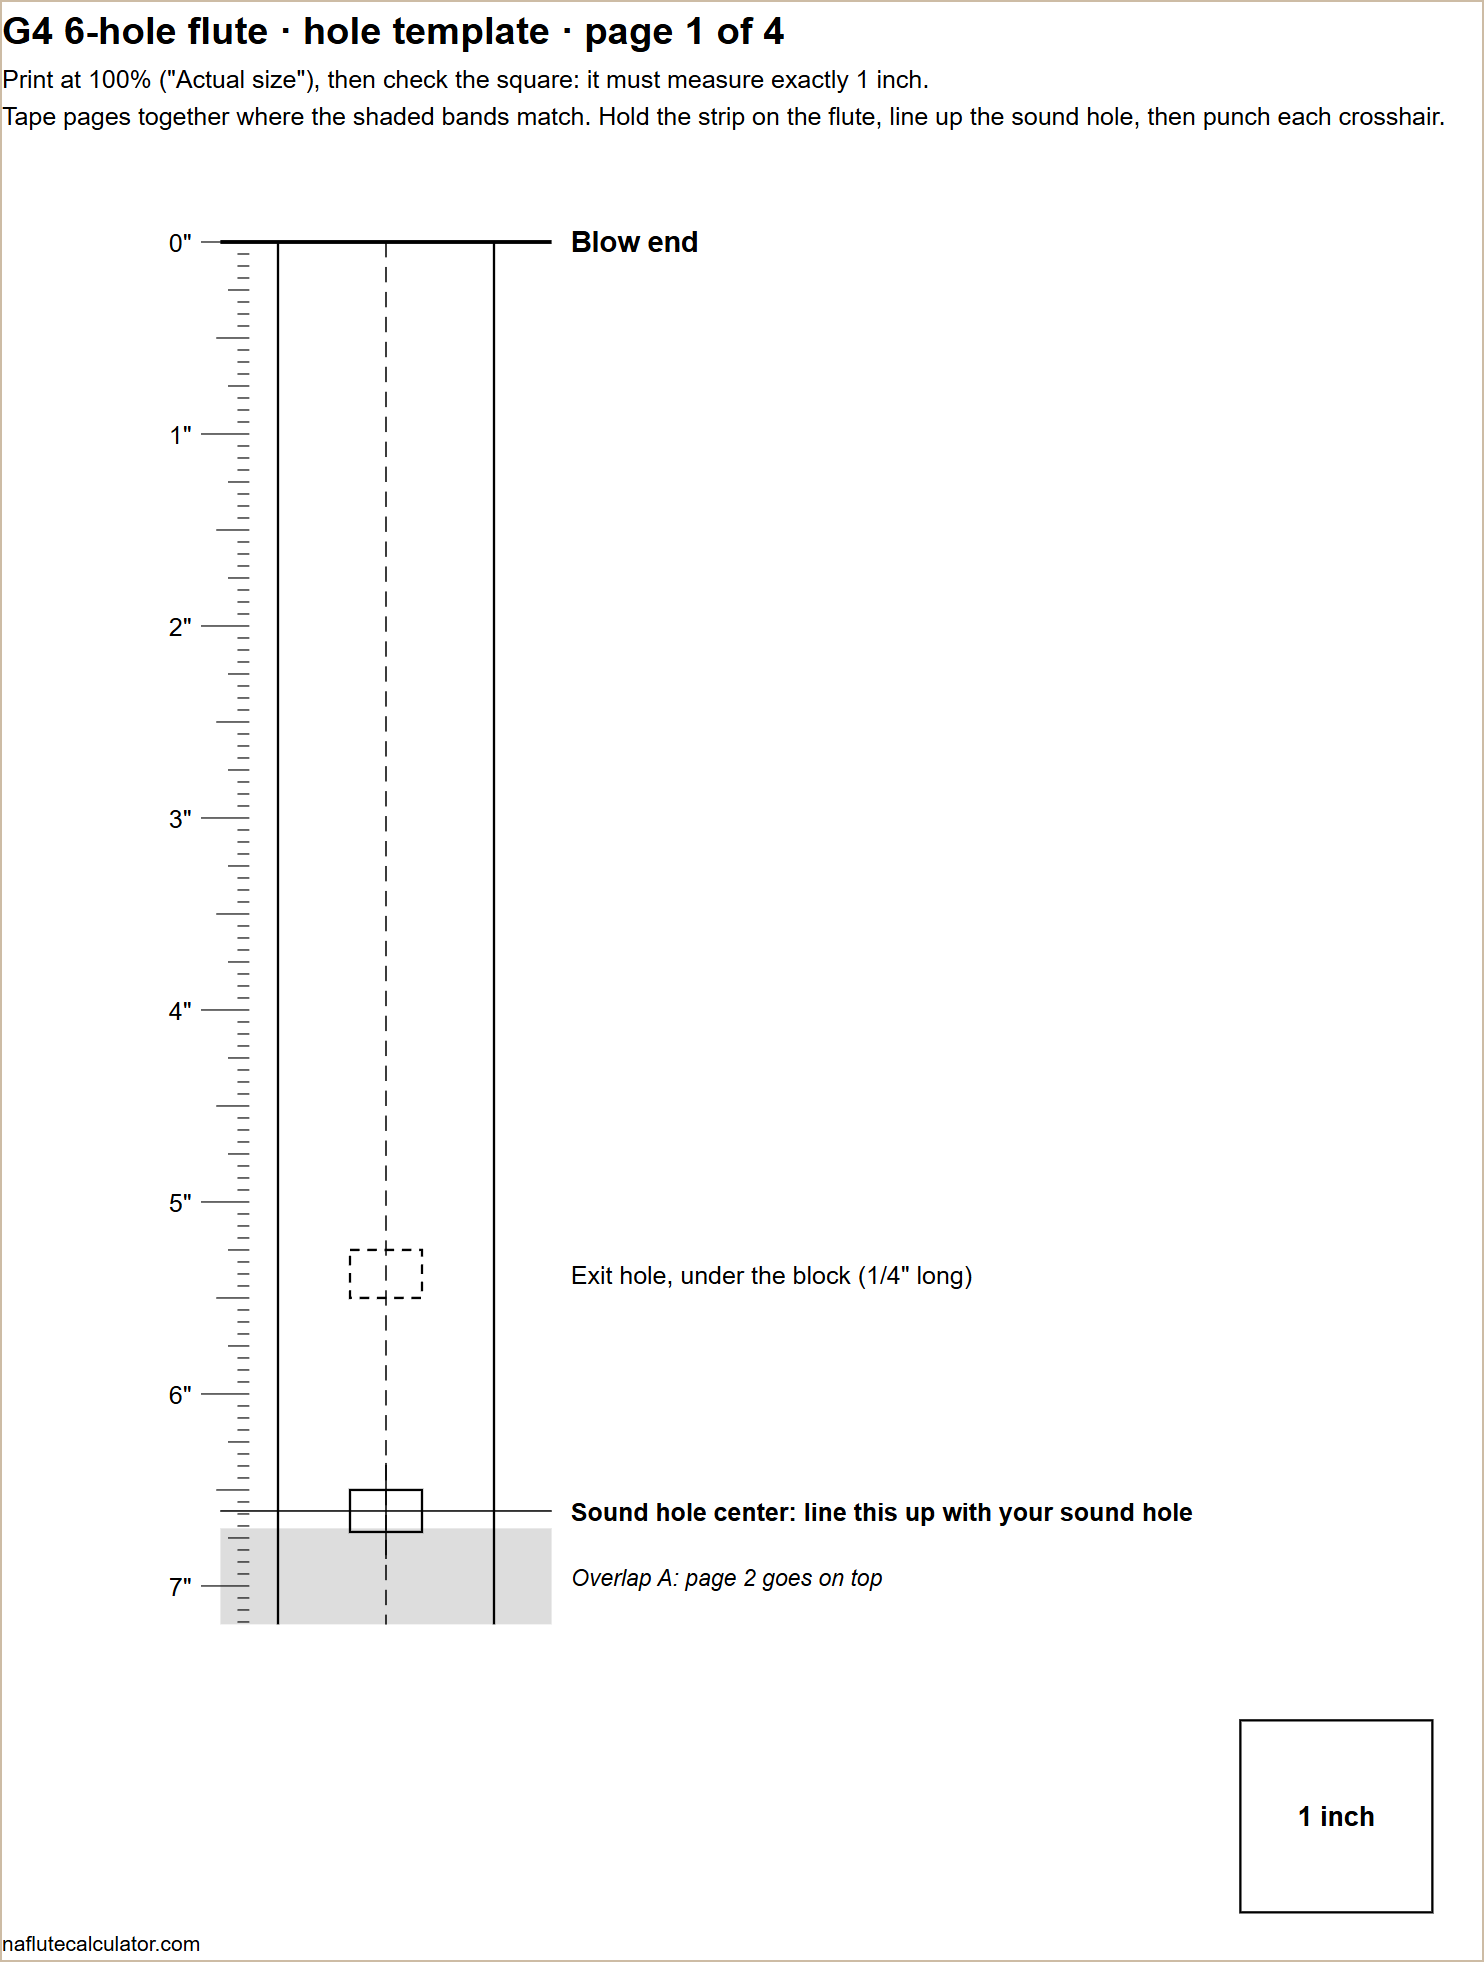
Click Print hole template in the calculator. You get a full-size strip across a few pages.
- Print at 100% ("Actual size"). Measure the square on each page: it must be exactly 1 inch.
- Tape the pages together where the shaded bands match.
- Center the strip on top of the flute and line up the sound-hole mark with your sound hole.
- Punch each crosshair with an awl. The solid circle is the starting size.
Tune the lowest note first
With every hole covered, play and check the note on a tuner. If it is flat, enlarge the direction holes a little (or, without them, shorten the foot). If it is sharp, the sound chamber is short; there's no going back, so cut long and work down.
Then each hole, bottom to top
- Open the bottom hole and play. It will be a little flat, by design.
- Enlarge it slightly with a round file or a tapered reamer, and play again. Making a hole bigger raises the note.
- Stop when it's in tune. Move up to the next hole.
Tune at the temperature you'll play in, after warming the flute with a few breaths. A cold flute plays flat.
If the flute won't sound
- Airy or weak: the flue may be too deep or the block not sealed. Check the block sits flat and tight.
- Squeaky or jumps up: the edge may sit too high. A slightly larger top bevel angle lowers it.
- No sound: the air ribbon is missing the edge. Slide the block forward or back a hair.
Selling flutes
In the U.S., the Indian Arts and Crafts Act makes it illegal to sell a flute in a way that suggests it was made by a Native American when it wasn't. Describe your flutes accurately.